Next-Level Front-End: 10 Powerful Steps From Basic Pages to Real Web Apps

Next-Level Front-End explained step-by-step. Learn 10 powerful ways to move from simple HTML pages to real web apps using components, routing, APIs, and performance tricks.
Most beginners start front-end development with three things: HTML, CSS, and JavaScript.
We create a few pages, add some buttons, maybe style a small landing page.
And then… we stop.
We get stuck in a loop of just creating “pages”.
But modern websites are no longer just pages.
1) They are applications
2) They handle data
3) They have routing, APIs, components, state, performance, deployment
This blog is your next step.
If you already know the basics, now is the time to level up.
Let’s move on from static pages → to real web applications.
Why You Must Level Up
Today, users expect websites to be:
- Fast
- Interactive
- Beautiful
- Dynamic
- Mobile Friendly
A simple HTML page is not enough.
Netflix is a front-end application.
Facebook is a front-end application.
Spotify, Amazon, Airbnb – all are front-end applications.
So if you want to develop in this field, you should learn how to build real apps.
And don’t worry – you don’t have to learn everything in a week.
We will proceed step by step.
Friendly and easy.
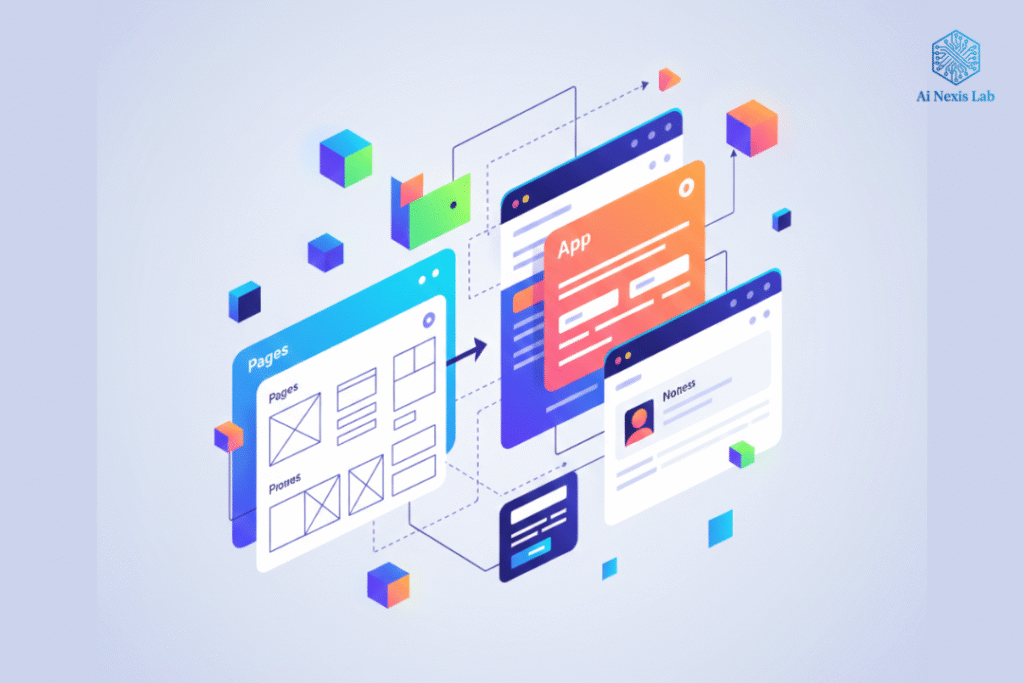
Step 1: Think in components, not pages
This is the biggest change in mindset.
When you create a simple page, you write:
- Header
- Menu
- Banner
- Button
- Footer
You write HTML for each part.
But in a front-end application, you reuse parts.
Example:
You have a button style:
<button class="primary-btn">Click Me</button>Instead of writing 20 different buttons, you write them once and use them everywhere.
This is called component thinking.
What is a component?
A component is:
- Reusable
- Independent
- Easy to maintain
Examples:
- Navbar
- Button
- Card
- Input field
- Product list item
Why are components important?
Imagine you want to change the color of a button on 40 pages.
If you wrote 40 custom buttons → headache.
If you wrote one component → update it once → it works everywhere.
That’s the power.
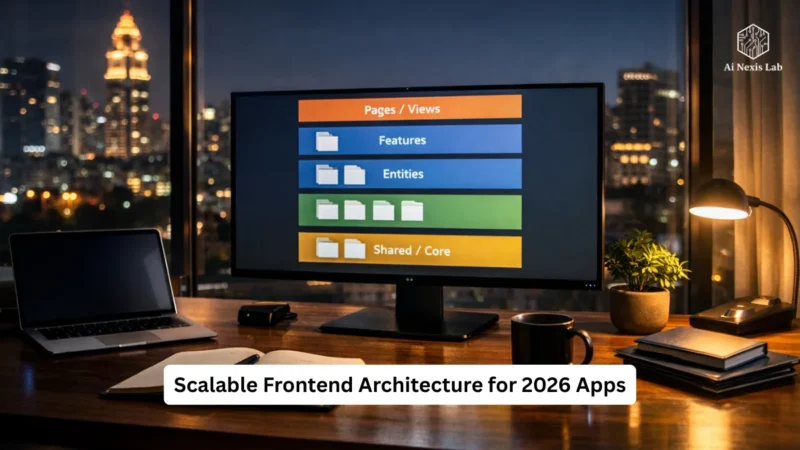
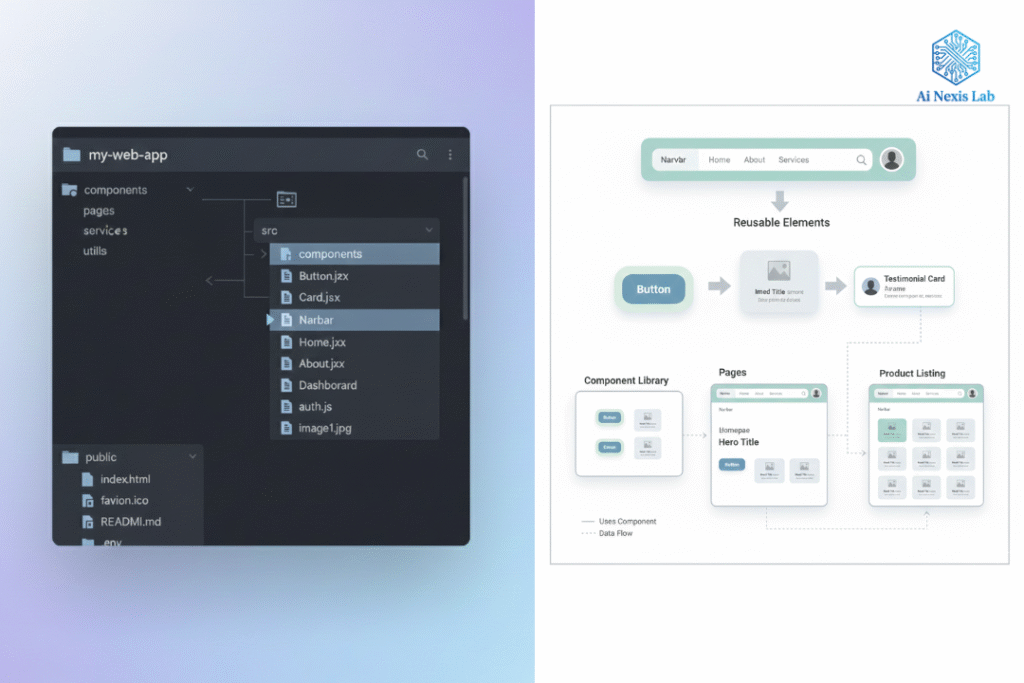
Step 2: Organize your project properly
Small projects with just 3 pages?
You can put everything in one folder.
But when your application grows, structure becomes very important.
A clean structure looks like this:
/src
  /components
  /pages
  /styles
  /assets
  /services
What goes where?
Components folder
Reusable parts like:
- Button.js
- Navbar.js
- Card.js
Pages folder
Each route/page:
- Home.js
- About.js
- Contact.js
Styles folder
CSS or SCSS files.
Services Folder
API Calls:
- weatherService.js
- authService.js
When everything is organized, development becomes easier.
Step 3: Learn routing – change pages without reloading
Traditional websites navigate between pages like this:
Click on a link → browser reloads → new page loads
But modern apps don’t reload.
They swap screens within the browser.
This is called routing.
Why is routing important?
- Faster
- Smoother transitions
- Better UX
- No page reloads
Example of routes:
/home
/about
/contact
/dashboard
Frameworks like React Router or Next.js make routing easy.
You get the full application experience — even if it’s just the front-end.
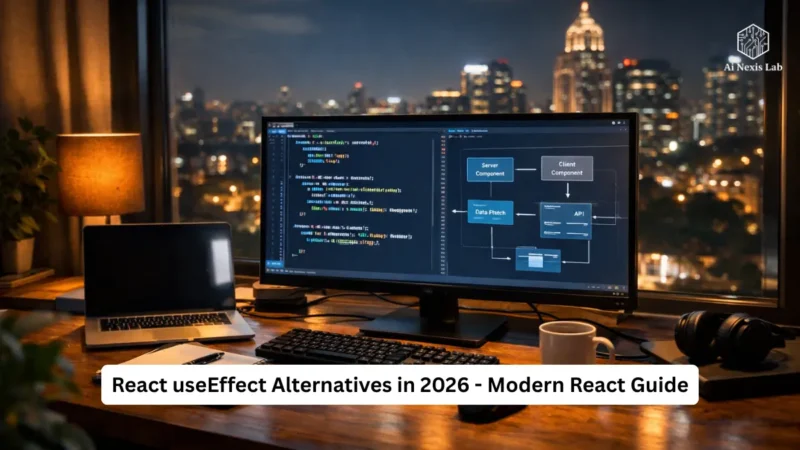
Step 4: Work with the API – Fetch real data
Static pages are boring.
Real apps use data.
API stands for Application Programming Interface – but don’t be afraid.
Simple explanation
An API is a way to get data from somewhere else.
Example:
Do you want the weather in London?
Call the Weather API.
It returns JSON like this:
{
  "city": "London",
  "temperature": 27,
  "condition": "Sunny"
}
You show on this page.
Boom — Dynamic Application.
Simple Fetch Example
fetch("https://api.example.com/weather?city=London")
  .then(res => res.json())
  .then(data => {
    console.log(data);
  });
After this, you can display:
- Temperature
- Humidity
- Weather icon
This is how apps become useful.
Step 5: Understand the situation (in simple terms)
Status means current data.
Examples:
- How many items are in the cart
- Logged in user
- Input value
- Selected theme
- Counter number
If the user increases the counter:
Count: 5After clicking the button:
Count: 6That change is state.
State updates will refresh the UI.
This is how interactive applications work.
In a framework like React, you use:
useState()
useReducer()
But start with this idea:
state = current situation of your app
Step 6: UI/UX – Make it look like a real app
A website may be technically correct…
But if it looks bad, users will run away.
UI (User Interface) is the design.
UX (User Experience) is how easy it feels.
What makes a good app?
- Clean layout
- Consistent spacing
- Proper typography
- Good color contrast
- Animations
- Dark mode optional
- Even small animations create magic.
Add a small hover effect on a button:
- Slightly scale
- Change the shadow
- Smooth transition
Users love it.
Step 7: Responsive design (all devices)
Your app should work on:
- Desktop
- Laptop
- Tablet
- Mobile
Otherwise, users will leave.
Use media queries:
@media (max-width: 768px) {
  .container {
    flex-direction: column;
  }
}
Test on a real mobile view.
Google Chrome has a full device emulator.
Step 8: Performance – Make it fast
Slow apps = frustrated users.
You need to optimize:
- Images (compress)
- Lazy loading for images
- Minify CSS/JS
- Code splitting
- Remove unused code
- Cache API responses
Open Chrome > Lighthouse
Run the test.
It gives you a score for:
- Performance
- Accessibility
- SEO
- Best practices
Resolving issues → Score increases.
Step 9: Testing – Don’t be afraid
Testing can seem daunting.
But here’s a simple idea:
- Does your facility work?
- If not, why?
You don’t need advanced testing at first.
Just manual tests:
- Try all buttons
- Try creating false values
- Refresh the page
- Try on mobile
- Try slow internet
Later you can learn:
Jest
Cypress
Playwright
But for now the basics are enough.
Step 10: Deploy Live – Share With World
It’s useless if no one can see local projects.
Free services available:
- Netlify
- Vercell
- GitHub Pages
- Firebase Hosting
You upload the code → click deploy → get a public link.
Example:
https://your-website.netlify.appShare with friends
Share on LinkedIn
Add to portfolio
This is how you grow.
Real Project Idea – Create a Weather Dashboard
This is the best starter project for a real front-end app.
Features:
- Search by city
- Get weather API
- Show temperature, forecast, icons
- Save recent searches
- Responsive layout
- Clean design
- Optional dark mode
Why a weather app?
- Easy to understand
- Uses real API
- Interactive
- Everyone loves it
Bonus upgrades:
Add:
- Hourly forecast
- Temperature graph
- Location search
These features make it impressive.
Mindset: You Are Not a “Page Builder” Anymore
Most beginners think:
I write HTML and CSS. That’s it.
But today this is not enough.
If you want to develop, think like a front-end engineer:
- How can I reuse this?
- How can I organize folders?
- Where does the data come from?
- What if the user has slow internet?
- How can I simplify the UI?
- Is my website accessible?
- Can I deploy it?
- Can I maintain it easily?
This is how you become better.
Summary – Your next level
Let’s recap:
What you learned:
- Components
- Folder structure
- Routing
- APIs
- State
- UI/UX
- Responsive design
- Performance
- Deployment
Why it matters:
Because now you’re building:
Applications, not just pages.
The modern web is full of applications.
If you want to be part of it, you need these skills.
And the best part?
You don’t have to learn everything at once.
Just start small.
One feature at a time.
One component at a time.
What To Do Next?
Here are 3 practical steps:
1) Choose a project
The weather app is complete.
2) Build Step by Step
- First UI
- Second API
- Save State
- Deploy
3) Share Online
Post on:
- GitHub
People will see.
Opportunities come from visibility.
Final Thought
Front-end development is growing rapidly.
Tools change. Trends change. Frameworks change.
But one thing never changes:
- Curiosity
- Willingness to learn
- Practice
You don’t have to be a genius.
You just have to be consistent.
- Start building.
- Experiment.
- Make mistakes.
- Improve them.
- Iterate.
Every professional develops this way.
You’re already on the way.
The next level awaits.
Frequently Asked Questions
Q1: What is the difference between a webpage and a web application?
Web pages are usually static — like an article or a simple layout with text and images.
A web application is dynamic. It can:
1) Show real-time data
2) Save user actions
3) Get API results
4) Update without reloading
Example:
Netflix, Facebook, YouTube are web applications.
They feel alive.
Q2: Why should I think in components, not pages?
Components help you use things easily.
Instead of writing the same button or card 10 times, you write it once and use it everywhere.
This saves time and keeps your code clean.
Q3: Do I need to learn a framework like React or Next.js?
Not immediately, but yes, you should learn one for next-level front-end.
React and Next.js are the most popular choices.
Start with the basics → then choose a framework → then build real apps.
Q4: What is routing in front-end applications?
Routing means switching screens without reloading the page.
Example:
/home
/about
/contact
It makes the application fast and easy.
Q5: What is an API in simple words?
An API is a way to get data from another source.
For example, you can call the weather API and get:
temperature, humidity, condition, icon
Then show it on your app.
Q6: Why do I need to understand state?
Status shows the current state of your application.
Example:
1) Counter number
2) Logged-in user
3) Items in cart
4) Selected theme
When the status changes, the UI updates.
This makes your application interactive.
Q7: How can I make my website responsive?
Use media queries and flexible layouts (grid, flexbox) so your design automatically adjusts:
1) Desktop
2) Tablet
3) Mobile
Always test on real devices or browser mobile view.
Q8: What tools can I use to deploy my project online?
You can deploy for free using:
1) Netlify
2) Vercell
3) GitHub Pages
4) Firebase Hosting
Just upload your code, click deploy, and share your link.
Q9: What project should I build to learn next-level front-end?
Weather Dashboard is perfect for:
1) Search for a city
2) Get the weather API
3) Show temperature and forecast
4) Responsive layout
Upgrade later with dark mode and history.
Q10: How long does it take to become a good front-end developer?
There is no definitive answer.
But in general:
1) 3-6 months of consistent practice
2) Create a project
3) Share online
4) Keep learning
Consistency is more important than speed.